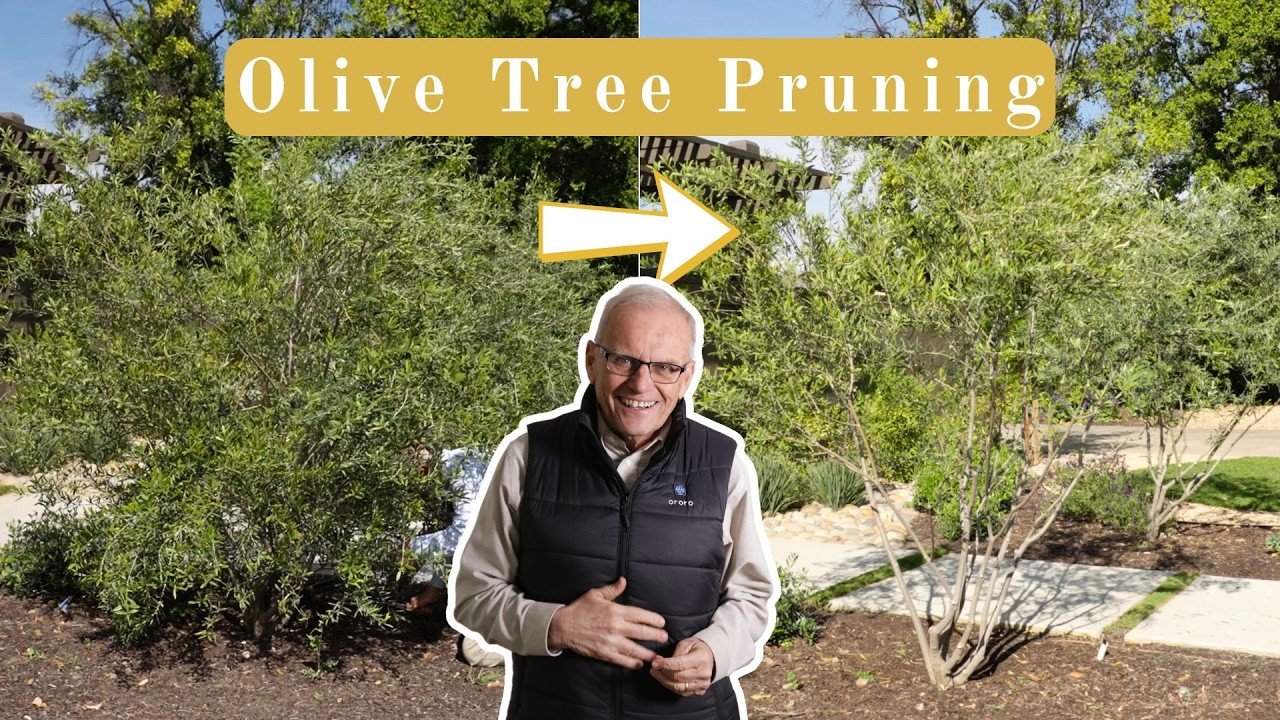
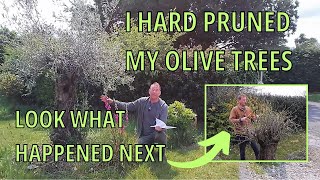
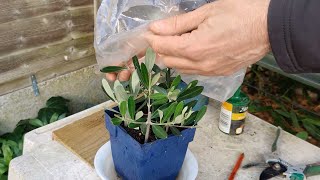
The owners have shown us what they want these non-fruiting olives to look like. I'm going to show you how to prune them to get there. These techniques that I'm going to show you will apply to all sizes of trees and actually many many species of trees.
The one uh distinction here is fruing trees we'd probably use a little different methods, but these are non-fruiting trees and I'm going to show you how to get there. So, the tools involved are very simple because these trees aren't that big. So, I'm going to use some what is traditionally called loppers.
Those are big pruning shears that you operate with two hands. And then some hand pruning shears. A lot of this work can be done with hand pruning shears because the trees have only been in the ground about a year and a half.
I only recommend sanitizing pruning shears if you're pruning trees with some kind of disease. In this case, we have perfectly healthy trees. No need to worry about that.
Some people seem to think it's a good idea to put some kind of pruning compound on the larger cuts. Don't do it. The best way is to make nice straight flat cuts and allow them to be subject to the air and good circulation and they'll heal on their own.
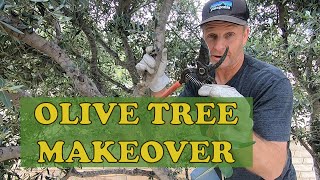
The very lowest small branches I'm going to remove. Some are on the inside, some are on the outside. So, this is definitely kind of gumming up the inside.
It's a small branch. I want to remove all of these small branches that are down low cuz I'm trying to raise up the growth in general. So, I take these and by getting all of these out, it allows me to see the whole thing a lot better and then I can get in easier and continue.
So, this is another small one that for one thing, it's a crossing branch. You can see it's crossing with this main branch that I'm going to keep. and it's goes in the middle.
I'm going to take it off. The one thing I would say not to do is cut branches in half. That's called heading back.
Instead of heading back, we're going to be thinning. And we're going to be removing crossing branches and we're going to be removing a lot of the branches in the center to let in light. And we're going to be directing the growth up.
We want these to get a lot taller. So, we're going to pick branches that are going up and remove branches that are going to the side. All of those cuts are going to be thinning cuts where we go to where the branch originates and cuts it off completely instead of where we see a branch we don't like and we cut it in half.
That's a heading back cut. This is a small branch crossing this major branch. We don't want that.
We don't want a crossing branch. So, we'll take this small one out as close to its origination. Not right up to it.
You leave a little bit and it heals over, but pretty close. So, some of these I'm just trying to lift up the growth. The other thing that I think is good advice is to go relatively slow and prune less than you think you want to prune and keep stepping back and looking at it cuz it's easy to get too enthusiastic and then you go back and you've got this improperly bare tree.
It's best to um you know do it in stages and keep looking at it. I know all of these lower ones I want to remove because I want this tree to start with leaves up here so we can grow these upright trees that give us room to get by when we walk on the main walk. And see this is in the middle.
It's crossing with that. We probably take them both out and they're in the middle. We want to open that up a little.
This one looks crossing right. So we'll come over here. Take it out.
This is coming over and crossing way over. So, I'm going to take that whole branch out. Okay, now I got it to a point where I want to look at it.
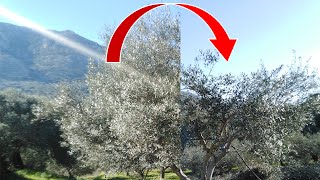
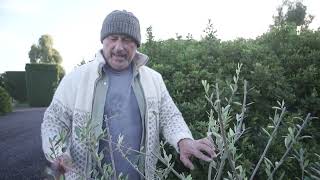
You see these trees kind of look like a ball of green leaves and you can't get a sense of the structure of the tree. My contention is trees are a lot more attractive if you can see their structure. That happens to be really healthy for them, too.
So, we're going to thin them out in a way that their structure can be appreciated and enjoyed. Also, you can still get a sense of where they are and what's behind them. So, it's starting to take form.
I just want to continue with the same process. We want to lift it up, try to encourage it to branch up and kind of remove some of the weeping nature of it, even though it does tend to weep. This one again is doing a lot of crossing.
So, we'll take it out. We have these principles. We don't want to go buy them 100% or otherwise if we see something that violates every rule, we could create a very bare looking tree.
So, we want to kind of do it judiciously and with some calm, not in a frenzy. This one here kind of goes over and starts interfering with this. So, I'm going to take it out.
And now I've I've definitely has the middle opened up. And yet I still have some little branches in there. And I like that.
I don't want to clear cut it in the middle. And I'm finding things that are crossing. And we're trying to encourage this to grow up and thin it.
By removing the weight on the end, we can get them to grow up. You can see as we remove weight, the branches lift. Now, this is kind of running into that.
We'll take it out. Again, all thinning cuts, we go back to where these branches start. Any branch like this that's broken.
We're going to take that off completely cuz that's not going to be strong. I think I'm going to take this one out completely cuz I'm trying to raise everything up. starting to look much different now.
A lot of these are growing into the walk. We want to remove those. We don't mind if that happens up higher, but we don't want it to happen down low cuz we're just going to pick the main structure.
So, these main branches here, everything else will cut off that's down low. And that'll allow us to see a nice structure for the tree. And the other thing I want to be conscious of is I don't want to take so many leaves off that we don't have enough to feed the tree because it's leaves that photosynthesize and actually feed the tree to allow it to continue to grow.
Even though I'm going by these principles, I still want to leave a lot of growth that I probably will eventually take off. But we want the tree to have enough to to feed itself and feed more growth. Okay, we're getting close.
Kind of go all around it and clean it up. Try to make it look somewhat even. Does it look uh pretty balanced from all sides?
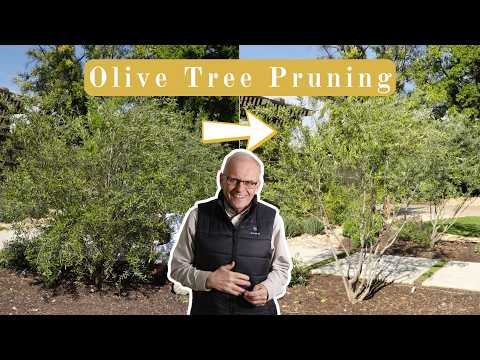
We just went slowly, stuck to the principles, and you end up with a nicely thin tree ready to grow up. Hey, look. It looks so much better.
No longer big balls of green or greenish gray. Now you can see the structure. They look like trees coming into their own.
It's really a big improvement. If you like this video, please like it. Subscribe if you haven't already subscribed.
Leave a comment if you have any questions about pruning or about any other horicultural or landscape design issue.


![[Pruning] Learn the correct way to manage olive trees! [Very popular] [For beginners]](https://img.youtube.com/vi/Xl3b2f2dy68/mqdefault.jpg)